Who May Sign the Uniform Mitigation Verification Inspection Form
In Florida, the Uniform Mitigation Verification Inspection Form (OIR-B1-1802) is the basis for wind mitigation credits on a homeowner's insurance policy. Only certain licensed professionals are authorized to complete and sign this form. The main categories are Florida-licensed home inspectors, general contractors, building contractors, residential contractors, professional engineers, registered architects, and building code officials.
For a home inspector, the license must be active and issued by the Department of Business and Professional Regulation (DBPR). Signing outside your license scope risks disciplinary action. Some insurance carriers may request proof of license, E&O insurance, or additional certifications, but the state statute sets the baseline authority for signature.
If your business includes staff, only those with the proper license may perform and sign the inspection. An unlicensed helper may assist, but the licensed inspector is responsible for accuracy and must be present on site. Subcontracted inspectors must also meet licensing requirements. Never pre-fill or sign on behalf of someone else.
Keep reading: Aluminum Branch Wiring: What CPSC Found and How to Report It
The Seven Questions on Form OIR-B1-1802 and What Each One Proves
The Uniform Mitigation Verification Inspection Form contains seven numbered sections. Each asks about a specific aspect of the structure's hurricane resilience. The insurer reviews these answers to determine which credits the property earns.
- Building Code: This section asks if the home was built in compliance with the 2001 Florida Building Code or later. The inspector checks permit records and visible evidence.
- Roof Covering: The form requires the type of roof covering and the permit date for its installation. Carriers want proof that the roof meets required standards for wind resistance.
- Roof Deck Attachment: Here, the form documents how the roof decking is fastened to the trusses or rafters. The method and fastener length affect wind uplift resistance.
- Roof to Wall Attachment: This section covers how the roof structure is anchored to the wall. Clips, straps, or engineered connectors all count, but nails alone provide no credit.
- Roof Geometry: Inspectors must determine if the roof shape is hip, non-hip, or flat. Hip roofs are less vulnerable to wind and receive a larger credit.
- Secondary Water Resistance: This asks if there is a peel-and-stick membrane or similar waterproofing under the roof covering. A self-adhered underlayment can qualify.
- Opening Protection: The last section requires documentation of impact-rated doors, windows, skylights, and garage doors. Only approved products with a label or documentation count.
Each section demands not just a yes or no but supporting documentation and photos. Leaving a section blank or "unknown" can mean losing out on a possible credit for the insured.
Roof Covering and the Permit Date That Decides Compliance
Florida's building codes have changed several times in response to storm events. For wind mitigation, the key date is March 1, 2002, when the 2001 Florida Building Code took effect statewide. Roofs permitted after this date are presumed to meet stricter wind resistance standards.
To determine compliance, inspectors check the permit date for the current roof covering. In most counties, this can be found on the property appraiser's site or at the building department. The form requires the exact date of the permit. If no permit record is available, some carriers may accept documentation from a licensed roofer certifying the installation date, but this is not universal.
The type of roof covering matters as well. Asphalt shingles, tile, metal, and membrane systems each have different code requirements for installation. Inspectors should look for Florida Product Approval numbers and manufacturer's labels. The absence of an approval sticker could lead to denial of credits, especially for newer roofs.
If the covering was installed in sections, each area must be documented separately. If one part of the roof predates the code, the form cannot claim full compliance.
Keep reading: Walk and Talk Inspections and Where Inspection Demand Is Heading
Roof Deck Attachment and Roof to Wall Connections
Deck Fastening Methods
The wind mitigation form distinguishes between several levels of roof deck attachment. The most common are 6d nails spaced at 6 inches along the edges and 12 inches in the field, or 8d nails spaced closer. Screws or ring-shank nails provide the highest level of uplift resistance.
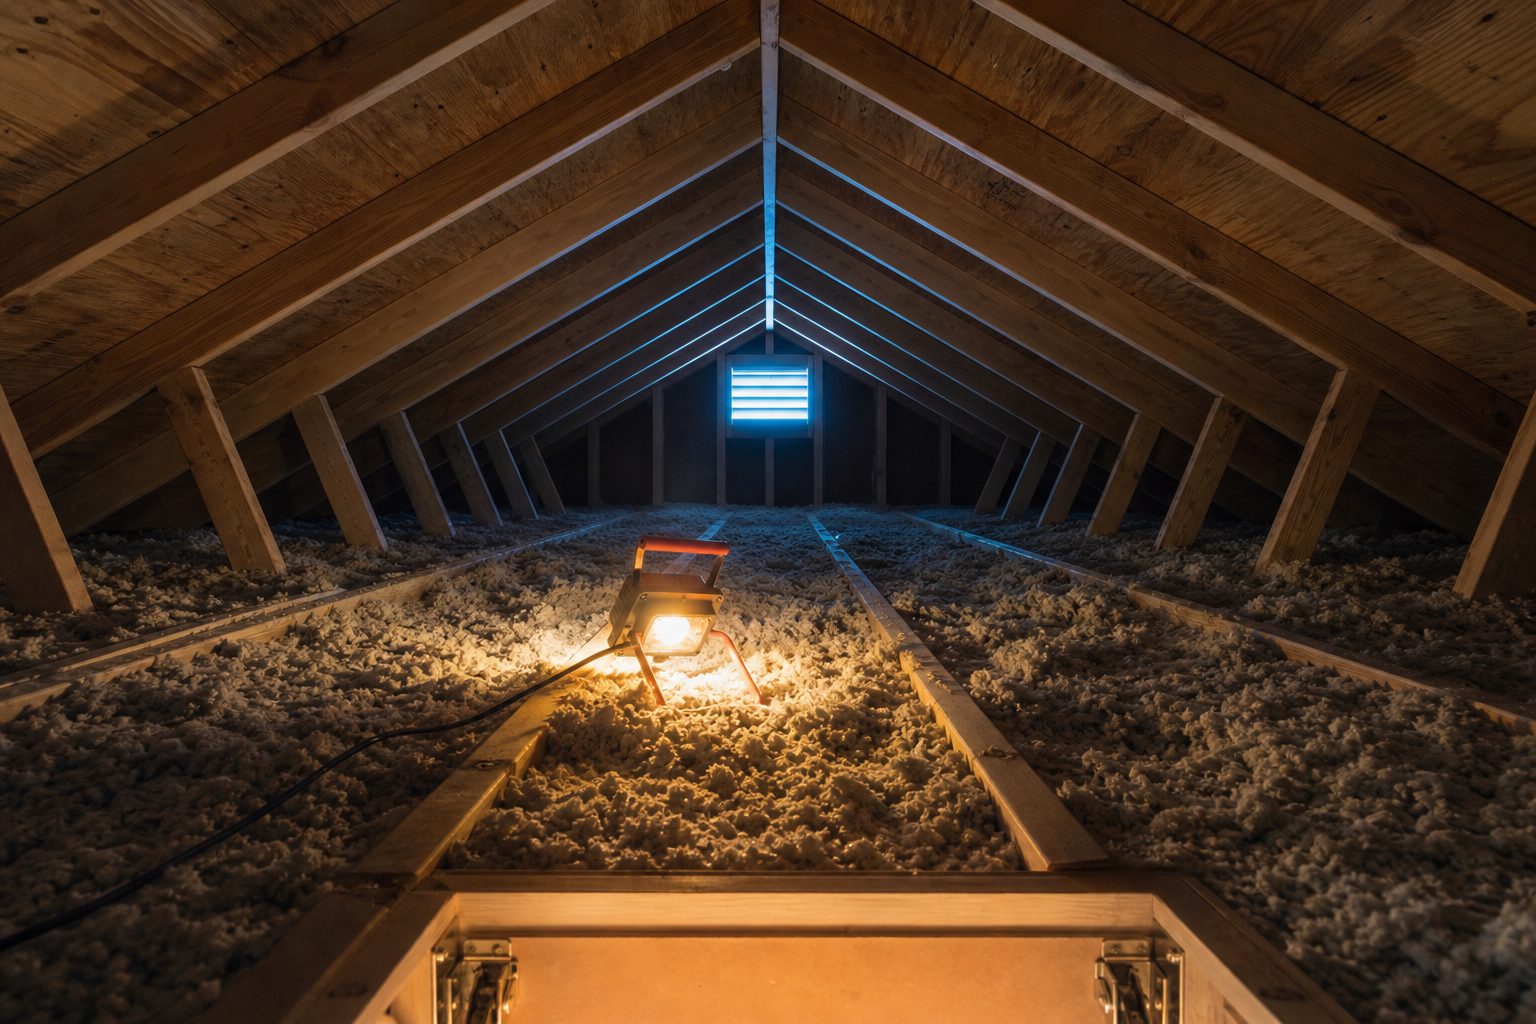
The inspector must verify fastener type and spacing, which usually means accessing the attic. If attic access is blocked or dangerous, document the limitation on the form and provide photos.
Roof to Wall Anchoring
Credit is given for metal connectors that wrap over the truss and are attached to the wall plate. There are several categories ranging from simple clips (one nail) to wraps or double wraps with multiple nails. The higher the level of anchoring, the greater the wind mitigation credit.
Visible rust, missing nails, or improper installation can disqualify a connector. Inspectors should photograph the best example found, but also note any defects. If a section of the roof is not accessible, the form should reflect only what is actually observed.
If the home uses a masonry wall with embedded straps, only visible, accessible connectors can be credited. Never guess or extrapolate from another part of the attic.
Roof Geometry, Secondary Water Resistance, and Opening Protection
Roof Geometry
The form asks if the roof is primarily hip (all sides slope down) or another shape, such as gable or flat. To qualify as a hip roof, at least 80 percent of the roof perimeter must be hip. Carriers require measurements, not estimates.
If there are multiple roof shapes, the largest one usually decides the geometry credit. Additions or porches with a different shape may lower the total hip percentage.
Secondary Water Resistance
Secondary water resistance is not common for older roofs but is more often found on new installations. This is typically a self-adhered membrane under the primary covering. Felt paper or tar paper does not qualify. The inspector should photograph any exposed membrane at the eaves or in the attic.
If secondary water resistance cannot be confirmed, the correct answer is "No." Do not infer from the roof age alone.
Opening Protection
All glazed openings must be protected with impact-rated shutters or windows to earn the credit. The inspector must document the presence of a label or provide product approval paperwork. Unlabeled shutters or DIY plywood panels do not qualify.
Non-glazed doors and the garage door can count, but only if they have the correct documentation. Many homes have a mix; only the weakest element decides the credit. If one window lacks a label, the entire credit may be denied.
Photographs should show the label or the product approval sticker up close, as well as a wide shot of the protected opening.
See how SlabToRoof handles this for home inspection
Required Photographs and What to Do When Attic Access Is Limited
Photo Checklist
- Front and rear elevation of the home, showing the roof shape.
- Permit sticker or documentation for the roof covering.
- Close-up of shingles, tiles, or metal panels to show type and installation details.
- Roof deck fasteners, visible from the attic.
- Roof to wall connectors, with clear nail detail.
- Secondary water barrier, if present.
- Product approval labels on shutters, windows, doors, and the garage door.
Insurance carriers rely on these photos to verify every claim on the form. Photos must be clear, in focus, and show enough detail to support the answer. Blurry or distant photos are the top reason for rejected mitigation credits.
Dealing With Limited Access
Attic access is a common barrier. If the hatch is too small, blocked, or unsafe, document this with a wide shot of the access point and a note on the form. Carriers accept these limitations if they are clearly described and photographed. Never force entry or take risks.
If only part of the attic is accessible, photograph all visible fasteners and connectors. Note the limitation in your narrative. If you cannot confirm a feature, answer "Unknown" and explain why. Do not guess or fill in "No" unless you are certain.
Some inspectors use telescoping cameras or mirrors to improve visibility. These tools can help document tight spaces, but the clarity of the photo remains the deciding factor.
What a 4-Point Report Tells a Carrier About Roof, Wiring, Plumbing, and HVAC
The 4-point report serves a different purpose than wind mitigation. Carriers require it for homes over a certain age, usually 30 years, to determine insurability. The four systems covered are the roof, electrical, plumbing, and HVAC.
Roof
Inspectors record the age, type, and visible condition of the roof. Leaks, missing shingles, or excessive wear must be noted. Most carriers will not insure a roof past a certain age or with active leaks.
Electrical
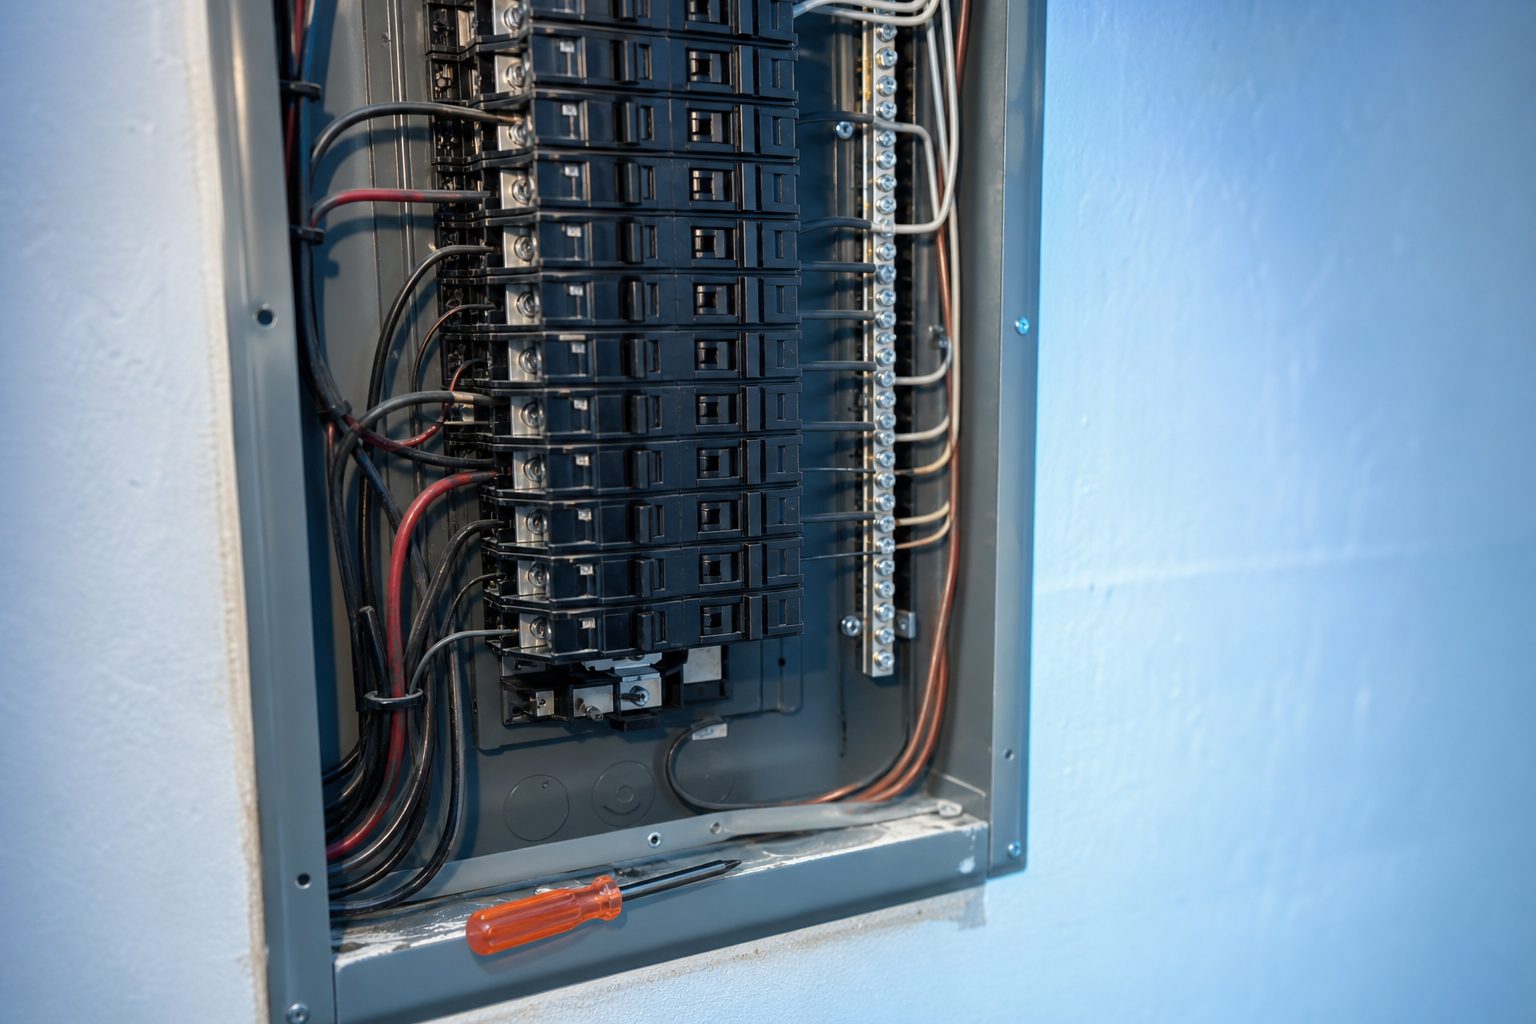
The report requires details about the electrical panel brand, main disconnect size, wiring material (copper, aluminum, or knob-and-tube), and observed hazards. Federal Pacific or Zinsco panels, double taps, and cloth wiring are red flags. Photos provide evidence for every finding.
Plumbing
Carriers want to know the supply pipe material (copper, polybutylene, PEX, galvanized), visible leaks, and the age of the water heater. Polybutylene and old galvanized pipes may be declined for coverage. The presence of recent updates should be documented with photos of the shutoff, water heater, and exposed pipes.
HVAC
The inspector must report the age, type, and visible condition of the heating and cooling system. Window units usually do not qualify as central HVAC. The inspector should document the thermostat, air handler, and condenser, as well as any visible signs of malfunction or missing parts.
The 4-point report is not a code compliance inspection. It is a snapshot of current conditions. Carriers use it to screen out high-risk properties and to require repairs before binding a policy.
Five Year Form Validity, Corrections, and Record Retention
A completed wind mitigation form remains valid for five years from the date of inspection, provided no substantial changes are made to the structure. If the home is re-roofed, upgraded, or has new openings installed, a new inspection is required.
If an error is found on a submitted form, the inspector may issue a corrected version. This should be marked "Corrected" and include an explanation. Keep all documentation: field notes, photographs, permit records, and correspondence. Many inspectors keep digital copies for at least seven years, which covers the state's statute of limitations for professional services.
Carriers may audit past reports. Missing photos or incomplete answers can lead to loss of credits for the homeowner and potential complaints against the inspector. A clear, consistent procedure for assembling and archiving reports protects both your business and the client.
As the volume of wind mitigation and 4-point work increases, efficient report assembly and photo documentation become more critical. Tools that speed up photo annotation and produce branded, same day delivery of compliant reports to agents and buyers help solo operators maintain both compliance and client service.